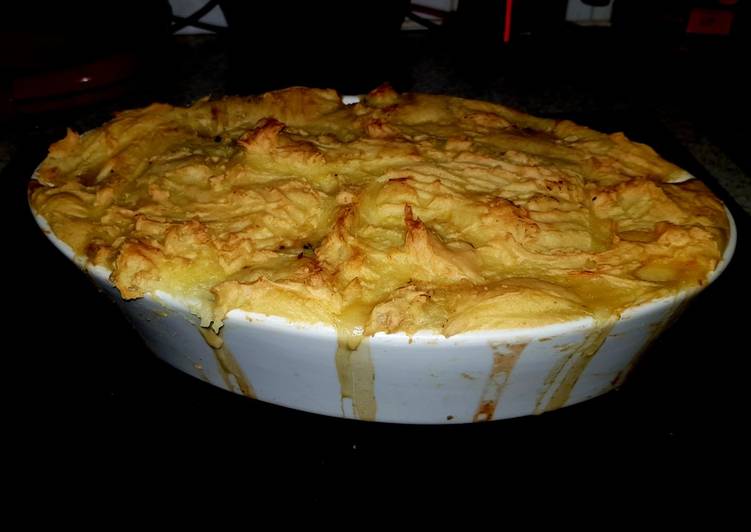
Hello everybody, it is Brad, welcome to our recipe page. Today, I will show you a way to make a special dish, milk bread. It is one of my favorites food recipes. For mine, I will make it a bit tasty. This is gonna smell and look delicious.
Milk Bread is one of the most favored of current trending foods on earth. It is appreciated by millions every day. It’s simple, it is quick, it tastes delicious. Milk Bread is something that I’ve loved my entire life. They are nice and they look fantastic.
In the bowl of a stand mixer, add the ingredients in the This Asian milk bread recipe is a triumph. For months, we have searched and tested finally have a perfect. The softest, & milkiest Japanese milk bread, that will make the best sandwiches or dinner rolls!
To get started with this recipe, we have to first prepare a few components. You can have milk bread using 16 ingredients and 23 steps. Here is how you cook that.
The ingredients needed to make Milk Bread:
- Make ready Roux
- Prepare 6 tbsp water
- Take 2 tbsp flour
- Make ready Bread Dough
- Get 1 1/4 tsp active dry yeast
- Make ready 1/4 cup milk (lukewarm temp)
- Take 350 grams all-purpose flour
- Get 1/4 cup granulated sugar
- Prepare 1 pinch salt
- Make ready 1 each large egg
- Make ready 1 tbsp dry milk powder or condensed milk
- Get 1/4 cup heavy whipping cream
- Get 2 tbsp unsalted butter
- Get Egg Wash
- Get 1 each egg
- Make ready 1 a splash of milk
It has crusts that are soft and thin and the insides are milky-sweet with a feather lightness that melts in your. Homemade Milk Bread In Lock-Down Without Eggs & Yeast Milk bread (also known as Hokkaido milk bread) is a lightly-sweetened Japanese white bread that's incredibly soft and fluffy. Think of it as the lighter, more buttery, and more flavorful version of your.
Instructions to make Milk Bread:
- In a small sauce pan, combine your flour and water. Heat over medium to low heat. Stir or whisk until you get the consistency of gel. Do not walk away, or you will "roux" the day. Set aside to cool after you are done.
- Wake up the yeast by combining it with the lukewarm milk. Make sure it is not too hot or you will kill your yeast. Test your milk against the back of your hand, it's the "yeast" you can do.
- In your mixer bowl, combine the following dry ingredients.
- In a smaller bowl, combine your yeast mixture, roux, egg, powdered milk, and cream. Whisk together.
- Set your bowl with the dry ingredients on your mixer with the dough hook attachment.
- In the bowl, make a well and pour your egg-cream mixture in the middle. Set the mixer to the lowest setting to combine until the dough starts taking shape.
- At this point, ask yourself, "where does the butter go?!" and you re-read your instructions. You didn't forget it.
- Add one tablespoon of butter, until it is incorporated, then add the other tablespoon until incorporated.
- Set your mixer to knead until the dough is stretchy. I had to take the dough out several times and knead by hand on a floured surface to check the consistency. You don't have to, but it's good to know the texture of what I'm looking for. If you're a beginner like me, there is a "knead" to do this.
- Preheat your oven to the lowest setting (150 to 170 degrees) and turn off while the mixer is kneading your dough.
- When you knead by hand, you should have a slightly sticky (post-it tacky), a little bit oily dough.
- Knead by hand until you can make a neat ball. You've reached a good point in the dough of you poke the dough and it slowly bounces back. It was at this point that I realized "Holy crap, so that's why the Pillsbury doughboy gets poked! It's a shout out to this part of the process!" Now imagine your dough laughing every time you do this.
- Put your dough back into the bowl. Wet your hand and sprinkle with a little bit of water. Cover with plastic wrap and put in the warm oven.
- To be honest, I forgot about the dough in the oven until after 3 hours later. Don't worry, it's a good thing. Throw out your time tables when it comes to making bread and look for the right smells, the right consistency instead. You want the dough to rise until it becomes double in volume. If its still small, give it more time. If you haven't killed all of the yeast, all it takes is time for the dough to rise.
- Take the dough out on your floured surface and punch it. Get everyone in the house to take a whack at it. You want it as bubble free as possible.
- Prepare a loaf pan and line with parchment paper. Preheat oven to the lowest setting, then turn off.
- Form your dough into a log and portion into 4. Put the other 3 balls in the mixer bowl and cover with your wrap while you work on one.
- Roll your ball into a flat shape, then fold in thirds. Flatten the dough, and then roll it up into a log. Put the log in your pan and do the same for the other balls.
- Cover pan with plastic wrap, then proof the final shape in the oven.
- Your dough should look like this at the end of proofing. Again, because I was watching a movie at the time, I forgot that this was proofing. Forgetting helps, because look what came out!
- Preheat your oven to 350°F.
- Brush the loaf with your egg wash (beat together egg and milk; ingredients below) and bake for about 25 to 30 minutes. It looks like a nice caramel top and feels hollow when you tap the crust.
- Take your bread out of the pan as soon as it comes out, and then take off the parchment paper as soon as the bread is cool enough to handle. The bread is mmmmmmmoist inside and the condensation will build around the bread and will make it soggy. Done!
This milk bread had me at its deep golden top. That glossy, luxuriously dark top exterior is so impossible for me to resist. Milk bread has a mild taste and slight sweetness. Soft, pillowy bread rolls made using a special Japanese technique. The soy milk bread was wonderful!
So that’s going to wrap this up with this special food milk bread recipe. Thank you very much for your time. I’m confident that you can make this at home. There’s gonna be more interesting food at home recipes coming up. Remember to save this page in your browser, and share it to your loved ones, colleague and friends. Thanks again for reading. Go on get cooking!